There are various exquisite jewelry boxes available in the market, but what could be more meaningful than crafting one with your own hands? The discarded cardboard boxes and leftover paper rolls from used tape can be transformed into treasures. Let us teach you how to create a beautiful jewelry box using these materials, making it simple yet aesthetically pleasing.
Since we’re focusing on a DIY project, let’s start by preparing the materials and tools you’ll need:
Materials: Thick cardboard, decorative paper, old T-shirt, beading thread, leftover paper rolls, fishing line.
Tools: Scissors, glue, needle, thread.
Decorative Paper: Initially, we intended to show you the final effect of the beautified box. However, we’ll keep it a surprise for now and use a partially used sample for demonstration.
Beads: Commonly found in the arsenal of crafting enthusiasts, these small beads are easily obtainable in the market at affordable prices. They come in a variety of colors, allowing for creative combinations according to personal preferences.
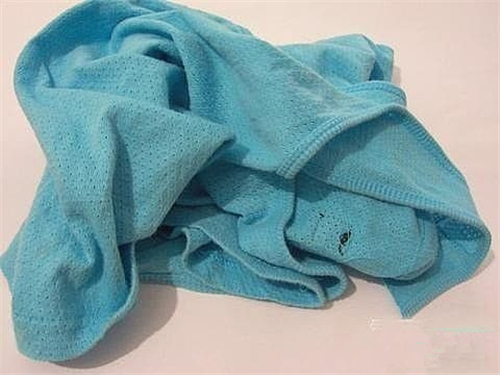
Unused T-shirts: Worn-out and unwanted T-shirts that you don’t want to throw away, making good use of them.
Thick Cardboard: Opt for an appearance that is clean and neat, without any creases. For this project, we used a gift box.
Fishing line, needle, thread, scissors, etc.: I won’t go into details about these basic tools; they’re essential for the project.
Alright, with all the items ready, we can begin crafting.
Jewelry Box Making Steps:
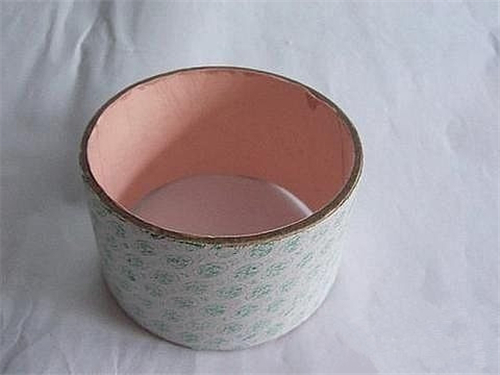
Start by cleaning and organizing the leftover transparent adhesive tape rolls. Cut the decorative paper to match the dimensions of the inner layer of the paper roll. Then, use glue to adhere the decorative paper to the inner layer of the paper roll, ensuring the inside of the jewelry box is clean and neat.
Create the base of the jewelry box by threading the beads onto the fishing line. String them as shown in the diagram, making the string a bit longer. Next, cut a piece of sturdy cardboard, such as the packaging cardboard of an ordinary toy box (Indian hardness), into a circular shape. Arrange the beads in circles on the circular cardboard, starting from the center and moving outward. Sew them onto the cardboard with a needle and thread, forming a circle of the same diameter as the inner layer of the transparent adhesive paper ring at the bottom of the jewelry box.
Creating the Outer Cover for the Jewelry Box:
Cut the T-shirt according to the dimensions of the outer perimeter of the transparent adhesive paper ring. It’s better to enlarge the dimensions slightly. Then, cut a circular piece matching the diameter of the outer layer of the paper ring. Sew it together using needle and thread. If you don’t have a sewing machine, you can utilize the existing edges to prevent concerns about unraveling.
Lid:
Cut a circular piece of sturdy cardboard to match the outer perimeter of the transparent adhesive paper ring. Then, cut another circular piece of cardboard, this time matching the diameter of the inner layer of the paper ring. Use the cardboard from a gift box to create these circular pieces. Cover the lid with a piece of the T-shirt, cutting away excess fabric from the edges.
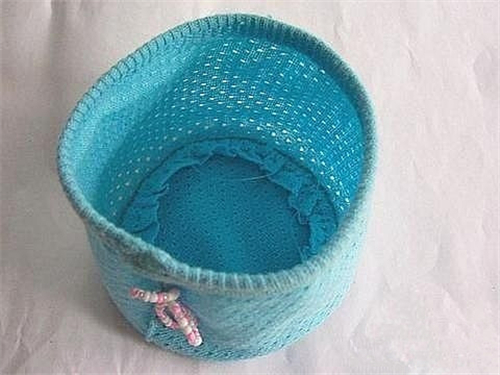
Summary: The resulting effect is actually quite nice. Of course, this may not be the finished product; you can use your imagination and sew on some patches or other decorations that you personally like on the edges of the jewelry box. Overall, there’s a lot of room for creativity with this gift box. It depends on your own crafting abilities.